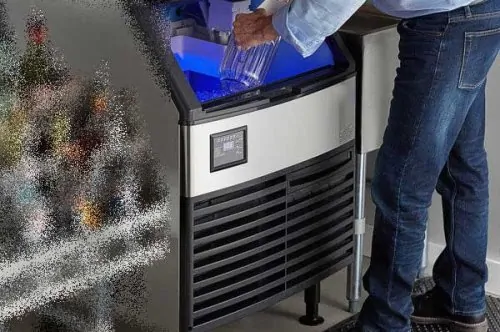
Cleaning & maintenance tips for under-the-counter ice makers
Why should I clean my ice machine?
Consistently cleaning your under-counter ice machine should be an important part of your maintenance routine because:
- Over time, mineral deposits from hard water and limescale can build up in your ice machine. This buildup could clog different parts and slow down the machine’s performance, which can decrease its lifespan.
- Accumulated minerals can also mess with the taste, smell, and clarity of your ice. Regular cleaning keeps your ice fresh and tasting good.
- The damp environment in an ice machine is a perfect spot for mold, mildew, bacteria, and germs to form and hang out. By keeping things clean, you can always get fresh, safe ice.
How often does my ice machine need to be cleaned?
Many under-the-counter ice machine brands suggest giving it a good clean at least once a month if you use it regularly. If your home and water quality differ, you might want to clean it more often.
Here are some signs that it’s time to clean your under-counter ice machine:
- Visibly dirty internal parts
- Ice with an unpleasant taste or strange odor
- Cloudy or discolored ice cubes
- Reduced ice production
- The machine seems to run louder or longer while making ice
If you notice anything funky with your ice quality or machine performance, go ahead and give it a good clean right away. This helps you deal with issues sooner and can help prevent any more buildup or damage down the line.
What you need
- Ice machine cleaner – Only use approved, nickel-safe cleaners for your ice machine. You can take your model number to AppliancePartsPros.com to find the correct cleaner for your unit.
- Clean cloths, brushes, etc.
- Gloves
- Bucket or pan of water for rinsing
- Paper towels or rags
How to clean your ice machine
Step 1 – Prep the ice machine
- Remove the ice storage bin and empty any remaining ice cubes.
- Take out parts like scoops, grids, baffles, etc.
Step 2 – Initiate the cleaning cycle
- Refer to your owner’s manual for the recommended amount of cleaning solution needed for cleaning.
- Add the specified amount of cleaning solution to the water reservoir.
- Start the “Clean” or “Wash” cycle on your unit.
Step 3 – Rinse & drain all remaining water
- Once the cleaning cycle is finished, thoroughly rinse the system with fresh water and run 1-2 rinse cycles. To do this, fill the water reservoir with fresh water.
- Drain the water reservoir after the last cycle. Use a bucket or drain pan to catch the water during the draining process.
Step 4 – Wash other parts
1. While the unit is draining, wash all removable parts in a sink or tub using the ice machine cleaner or a mixture of diluted vinegar with water. Use a soft-bristled brush or sponge to gently scrub these parts and rinse them thoroughly.
Step 5 – Reassemble & restart the ice machine
- Replace all the parts you removed and make sure they’re correctly positioned.
- Make sure the water reservoir is drained and free of any standing water.
- Restart the ice production cycle.
More maintenance tips
Replace the water filter
You should replace the water filter every six months for high-quality ice and to prevent mechanical issues caused by sediment or scale buildup. If your water supply contains high levels of minerals or contaminants, you may need to replace the filter more frequently.
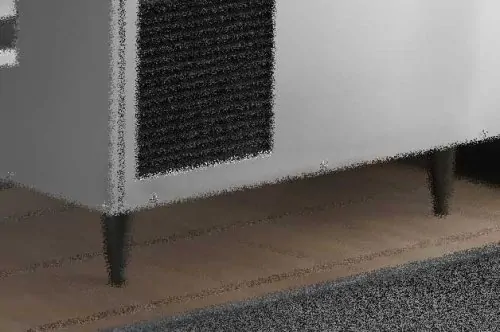
Clean the condenser
- Unplug the ice machine.
- Use compressed air or a condenser brush to dislodge any dirt, dust, or debris that has accumulated between the condenser fins.
- Vacuum carefully around the condenser area to remove any loose particles or lint buildup.
- If your under-the-counter ice machine has a condenser filter, remove and clean it with warm, soapy water. Rinse the filter thoroughly and allow it to dry completely before reinstalling.